Table of Contents:
If you’re facing issues with your AC condenser, knowing how to repair it can save you time and money. A malfunctioning condenser can disrupt your comfort at home, especially during hot summer months. Understanding the basics of AC condenser repair can help you troubleshoot common problems and potentially avoid costly repair bills.
In this article, you’ll discover practical tips and step-by-step guidance on repairing your AC efficiently. From identifying common issues to implementing the right repair techniques, you’ll learn how to restore your AC unit’s functionality quickly. By following these expert recommendations, you can tackle AC condenser repairs with confidence and ensure your home remains cool and comfortable throughout the year.
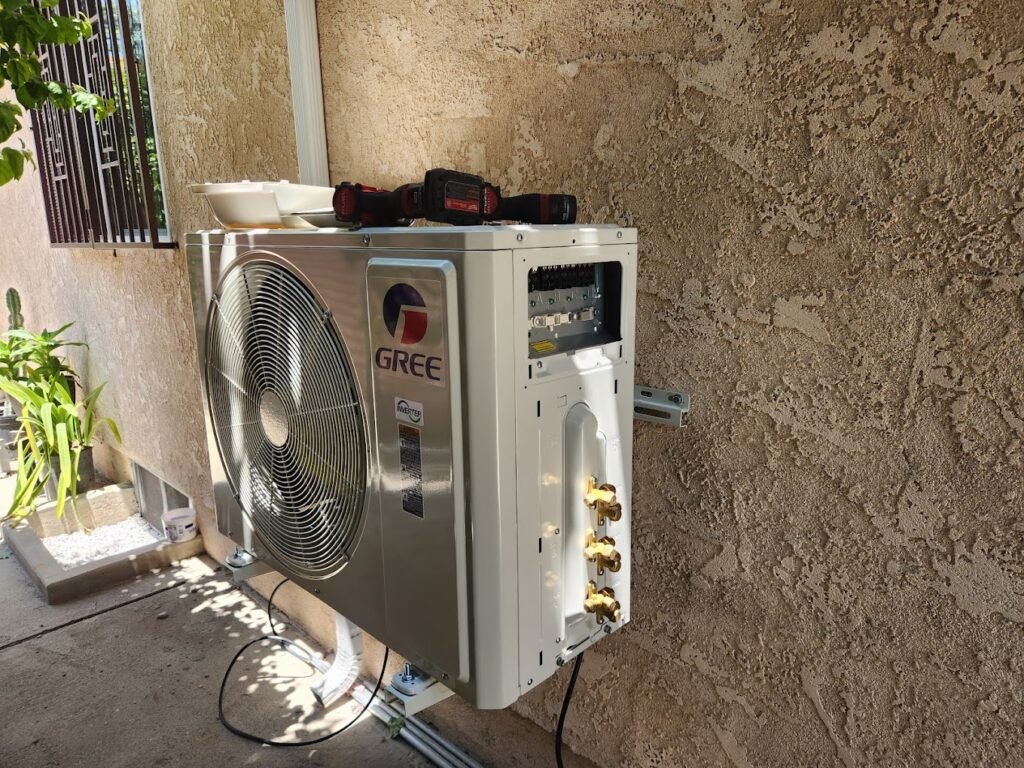
To repair your AC condenser effectively, it’s crucial to have a clear understanding of its key components and how they function. The AC condenser plays a pivotal role in the cooling process of your air conditioning system. Situated outside your home, it works in conjunction with the compressor to dissipate heat from the refrigerant, allowing the cooled air to circulate indoors.
When the refrigerant gas enters the condenser, it releases heat to the exterior environment, causing the gas to condense into a high-pressure liquid. This liquid then moves to the expansion valve, where it undergoes depressurization, leading to a drop in temperature. The now-cooled liquid refrigerant flows into the evaporator coil inside your home, absorbing heat from the indoor air and cooling it before being circulated back to the condenser to repeat the cycle.
Understanding this process is essential when troubleshooting issues with your AC condenser. By grasping how each component functions within the system, you can better identify potential problems and undertake the necessary repairs with confidence. With a basic comprehension of the AC condenser’s role in cooling your home, you’ll be well-equipped to address any maintenance or repair tasks efficiently.
To begin preparing for the repair of your AC condenser, you need to gather the necessary tools and equipment first. Having the right tools on hand will make the repair process smoother and more efficient. Here’s a list of essential tools you may need:
Repairing your AC condenser is crucial for maintaining a comfortable home environment. By following these steps, you can troubleshoot and fix common issues efficiently.
When your AC condenser malfunctions, start by checking for common problems like refrigerant leaks, damaged fins, or a faulty fan motor. Listen for unusual sounds, inspect for visible damage, and ensure that the unit is receiving power. Identifying the issue accurately is the first step towards effective repair.
Once you’ve identified the problem, safely disconnect the power supply to the AC unit. Remove the outer cover carefully to access the condenser coils and fan. Use appropriate tools like screwdrivers and pliers to detach the faulty parts. Clean any debris or dirt accumulation around the condenser to ensure optimal performance.
After removing the faulty parts, inspect them closely to confirm the damage. Replace damaged components like fan blades, capacitors, or contactors with new ones. Ensure proper alignment and secure installation of the new parts. Once everything is in place, reassemble the unit, restore power, and test the AC condenser to ensure it functions correctly.
After successfully repairing your AC condenser, it’s essential to conduct thorough testing to ensure everything is working correctly. Here’s a step-by-step guide to help you verify the repair:
By following these testing procedures, you can confirm that your AC condenser repair was successful and enjoy a cool and comfortable environment in your home.

You now have a solid understanding of how to repair your AC condenser efficiently. By following the provided guidance and tips, you can tackle common issues and maintain a cool home environment. Remember to prioritize safety, gather the necessary tools, and approach the repair process methodically.
Testing the unit post-repair is crucial to ensure everything is functioning correctly. With this knowledge, you’re equipped to troubleshoot, repair, and verify the success of your AC condenser maintenance. Enjoy a comfortable and well-regulated indoor climate throughout the year.
Understanding AC condenser repair allows you to troubleshoot and fix common issues efficiently, avoiding costly repair services and ensuring your unit runs smoothly during hot months.
Knowing the key components helps you understand how the condenser works in the cooling process, enabling you to identify problems accurately and perform necessary maintenance for optimal performance.
Before repairing, gather essential tools such as a multimeter, screwdrivers, pliers, and safety gear. Turn off the power, exercise caution around components, and consult a professional if unsure.
Identify the issue, disconnect power, clean debris, replace damaged components, and reassemble the unit securely. Finally, test the unit to ensure it functions correctly after repairs.
Testing ensures the AC unit operates correctly post-repair by checking for unusual sounds, inspecting airflow and temperature, and confirming proper condenser operation. Professional help is suggested if issues persist.